Tank 300 mud flaps and fender liners are not the same part. Mud flaps sit behind the tyres and help control spray and debris leaving the wheel area. Fender liners follow the inside of the wheel arch and help shield the cavity behind it. Choose the part—or combined set—that matches the area you actually need to protect.
The current Decision Maker 4X4 listing separates these jobs into two-piece liner, four-piece mudguard and six-piece combined options, with distinct selections for standard Tank 300 and 300 HEV applications. That makes the variant name, vehicle powertrain and existing wheel-arch setup more important than the product thumbnail.
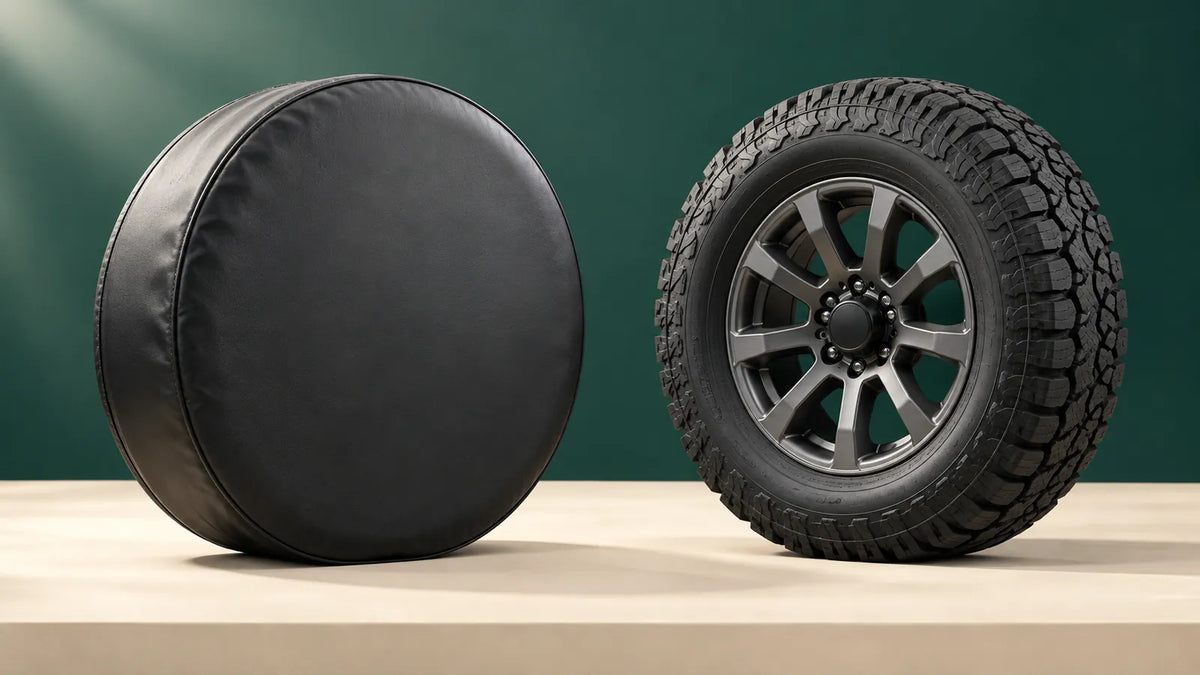
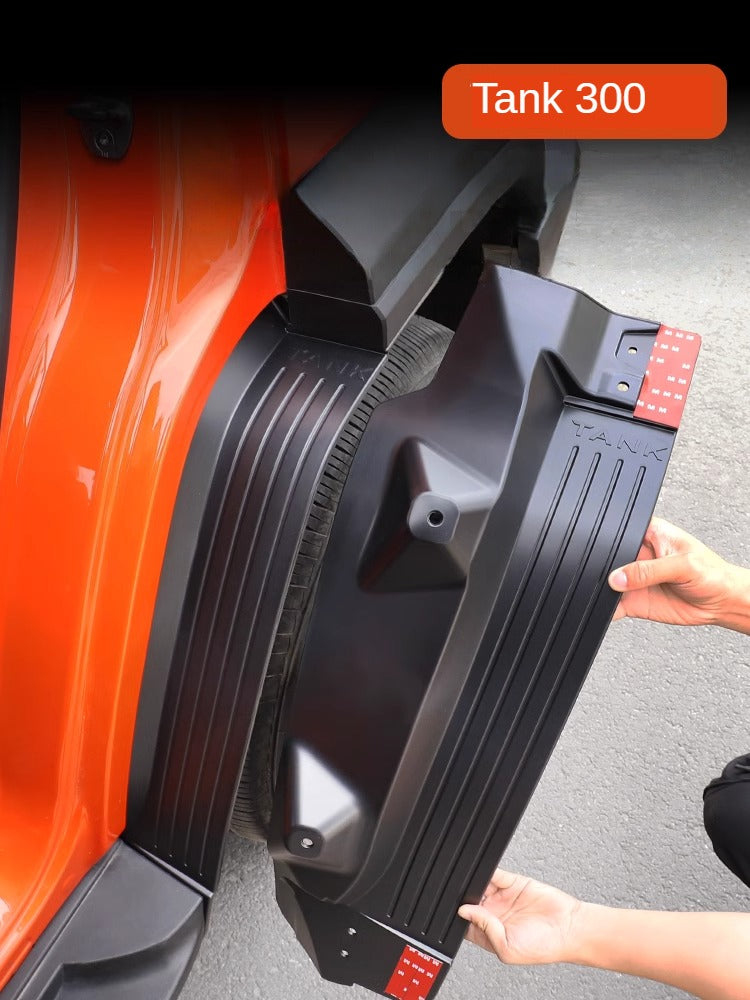
Product listing checked 12 September 2026. This is an editorial selection guide, not a physical fitment test or legal certification. All four images are unchanged source images from the live store listing and are used as variant references, not proof of fitment or package contents.
Mud flap, fender liner or wheel-arch flare?
Start by naming the component correctly. A mud flap or splash guard extends downward behind a tyre. Its useful coverage depends on its width, length, position and how it behaves at speed or on rough ground. An inner fender liner sits higher inside the wheel well and separates the tyre area from surrounding body cavities and components. A wheel-arch flare is the visible outer trim around the arch; it may change appearance or coverage, but it is not automatically a substitute for either part.

These parts can overlap visually in a listing because they meet around the same arch. That does not make them interchangeable. A combined kit can be sensible when both areas need attention, but only if every piece matches the same vehicle version and works with the tyres, steps, bumper ends and existing trim.
On a phone: swipe the table sideways to see all columns.
| Component | Typical position | Main check | Do not assume |
|---|---|---|---|
| Mud flap / mudguard | Behind the tyre, extending toward the road | Coverage, flexibility, ground clearance and secure mounting | A four-piece set fits every year or tyre setup |
| Inner fender liner | Inside the wheel well | Wheel-well shape, fastener points, drainage and tyre clearance | It changes the legal outer coverage of a wider tyre |
| Wheel-arch flare | Visible body edge around the arch | Body alignment, projection, tyre coverage and adjacent trim | A wider-looking flare provides compliant coverage |
What the current Tank 300 listing includes
The live Mudguard and Fender Liner Set for GWM Tank 300 currently has six available variants. The listing does not specify exact model years, material grade, component dimensions, installed mass, drilling requirements or a complete fastener inventory. Confirm those details for the exact variant instead of applying one photo or description to every option.

| Vehicle label | Listed set | Pieces | Confirm before ordering |
|---|---|---|---|
| Tank 300 | Lining fender | 2 | Which wheel positions and exact mounting points |
| Tank 300 | Mudguard | 4 | Wheel, tyre, side-step and body-trim clearance |
| Tank 300 | Lining fender + mudguard | 6 | That both component groups suit the same vehicle |
| 300 HEV | The same three set types are listed separately | 2, 4 or 6 | Hybrid application, model year and photographed arch layout |
A lower piece count is not necessarily incomplete; it may describe a different job. Likewise, the six-piece selection should not be ordered simply because it contains more parts. Choose the set that corresponds to the affected area, then confirm the package contents in writing.
Eight checks before buying Tank 300 mud flaps or liners
1. Match the exact powertrain and model year
The product options distinguish Tank 300 from 300 HEV, so powertrain is a first-line fitment check. Add the model year, trim and market specification, because the current listing does not provide a universal year range. Send clear photos of the front and rear wheel arches rather than relying only on a vehicle silhouette.
2. Select the job before the piece count
Use a two-piece liner option when the confirmed need is the listed inner/rear liner area. Use a four-piece mudguard option when the required parts are the external splash guards. Consider the six-piece set only when both groups are needed and confirmed. Ask for a labelled image or packing list showing which piece goes to each location.

3. Record the real wheel and tyre setup
Tyre width, outside diameter, wheel offset and arch position can differ from a standard-looking product photo, especially after wheel, tyre or suspension changes. Check clearance with the steering moved through its normal range and consider suspension movement—not just the gap visible while parked on level ground. A liner or flap must not rub the tyre, restrict movement or become a sharp contact point.
If the build already uses wider tyres or different wheels, do not treat an inner liner as evidence of sufficient external tyre coverage. Plan the whole arch, including any flare. The same fitment-first principle used in our Tank 300 side-step guide applies here: adjacent parts have to work together.
4. Check steps, bumper ends and existing arch trim
The leading or trailing edge of a mudguard may meet a side step, body moulding or bumper corner. Compare the selected product with every nearby accessory. Look for gaps, trapped edges and fasteners competing for the same hole. A part that can be forced into place is not necessarily the correct part.
Dry-fit before removing protective backing, drilling or making an irreversible change. Open doors where the arch meets the sill, confirm the side step remains secure and check that the flap cannot fold into the tyre during reversing or rough-road movement.
5. Verify fasteners and mounting surfaces
Request the actual installation instructions and supplied-parts list. The store imagery includes fastener and tool illustrations, but the live written listing does not verify that every pictured item is included with every variant. Do not substitute random clips or self-tapping screws merely because they fit the visible hole.
Inspect the receiving surface for damage, missing factory clips, corrosion or distorted trim. If drilling is proposed, obtain a vehicle-specific procedure and check what sits behind the panel. Avoid wiring, hoses and structural areas. Professional installation is the safer default when the mounting method is unclear.
6. Preserve drainage and make cleaning possible
A wheel well collects water, clay, sand and small stones. A liner that traps debris against painted metal or blocks a drain can create a maintenance problem while appearing tidy from outside. Before fitting, identify drainage paths and service-access points. After a wet or muddy trip, clean the cavity without directing high-pressure water into seals, connectors or bearings.
Check both sides after cleaning. Mud packed behind a flap can add leverage to the mount, while a loose liner can start polishing or cutting an adjacent surface. Investigate new rubbing marks, noise or movement early.
7. Treat coverage as a safety and roadworthiness question
Australia's current ADR 42/05 General Safety Requirements includes wheel-guard provisions intended to protect other road users from material thrown up by tyres and to reduce contact danger. Its requirements distinguish vehicle categories and define coverage geometry; a product title or “off-road” appearance is not proof that a modified vehicle meets the rule.
Vehicle registration and modification administration also varies by state and territory. If wheels, tyres, suspension or body width have changed—or if the original guards are being replaced—check the current requirements with the registration authority or an approved vehicle engineer. This article does not certify a particular Tank 300 setup.
8. Reinspect after the first drive and demanding trips
After installation, start with a controlled check: steering movement, tyre clearance, door operation and a short low-speed drive. Then inspect fasteners and contact marks again. Follow any supplied torque or bedding-in instruction rather than inventing a universal interval.
Repeat the inspection after rough tracks, deep mud, pressure washing or a visible impact. Replace damaged clips with the specified parts, and remove a loose component from service before it reaches a tyre or another road user.
Which option suits your Tank 300?
For a mostly standard daily-driven vehicle with missing or damaged external guards, the four-piece mudguard selection may be the relevant starting point. For an arch cavity that needs the listed liner components, begin with the two-piece option. For a vehicle needing both, compare the six-piece package—but still verify each location and the Petrol/HEV designation.
For a modified vehicle, work in the opposite order: record the completed wheel, tyre, offset, suspension, step and flare configuration first, then ask whether the selected parts fit that system. If the build plan is still changing, use the Tank 300 accessory-priority guide before ordering trim that may need to be replaced again.
The broader GWM Tank protection collection contains liners, mudguards, flares and other body-protection items. Keep those categories separate during comparison. A flare changes the outer arch; a liner shields the inner cavity; a flap extends behind the tyre.
Genuine-accessory and Australian context
GWM Australia's Tank 300 accessories catalogue currently lists its own Tank 300 Mud Guard as a four-piece set and directs buyers to confirm pricing and compatibility with a dealer. That is useful category context, but the genuine product's fit, materials, price and claims do not transfer to the aftermarket Decision Maker 4X4 listing.
Compare like with like: exact part set, vehicle application, installation instructions and coverage. Do not use a genuine-accessory description as evidence for an unrelated product, and do not assume an aftermarket part is inferior or superior without product-specific testing.
Send the details that make a fitment answer useful
Send your Tank 300 model year, Petrol or Hybrid powertrain, trim, selected 2-, 4- or 6-piece option, wheel and tyre details, and clear photographs of all four wheel arches. Include side steps, flares, bumper ends and any suspension changes.
Ask us to confirm package contents, material, mounting method, fasteners, drilling requirements and known clearance limits before ordering. Redact registration plates and personal information from photographs where practical.
Ask about mudguard fitmentFrequently asked questions
Are Tank 300 mud flaps the same as fender liners?
No. Mud flaps extend behind the tyres to help control spray and debris. Fender liners follow the inside of the wheel well. The current store listing offers them separately and as combined sets.
Do Tank 300 Petrol and Hybrid use the same mudguards?
Do not assume so. The live listing separates standard Tank 300 and 300 HEV variants. Confirm powertrain, model year, trim and wheel-arch photographs against the selected option.
Will the four-piece set fit larger tyres?
Not automatically. Check tyre width and outside diameter, wheel offset, steering clearance, suspension movement, existing flares and the mudguard's installed position. The listing provides no universal modified-tyre size limit.
Does the listing confirm no-drill installation?
No. The written product record reviewed for this article does not specify drilling requirements or a complete fastener list. Obtain the instructions for the exact variant before making any permanent change.
Do mud flaps make a wider wheel and tyre setup road legal?
Not by themselves. Wheel-guard coverage is only one part of vehicle compliance. Check the current rules for the vehicle category and your state or territory, especially after wheel, tyre, suspension or body-width changes.
Evidence boundary: the linked Decision Maker 4X4 listing and photographs support product identity, six available variants, listed set counts and the stated general installation checks. GWM Australia's catalogue provides genuine-accessory context only. ADR 42/05 provides national wheel-guard design context, not approval of this product or vehicle. No independent fitment, material, impact, durability or compliance test is claimed.